Affiliate disclosure: As an Amazon Associate, wellwateractionplan.com earns from qualifying purchases. When you click links on this site and make a purchase, we may earn a commission at no additional cost to you. Read our full affiliate disclosure.
Many households depend on private wells for drinking water, but unlike public supplies, the responsibility for safety falls entirely on the homeowner [1]. Contaminants such as bacteria, nitrates, heavy metals, and chemicals can enter groundwater from natural sources, agricultural runoff, or aging infrastructure, and they often have no taste, odor, or color [2].
This guide walks you through a practical, step-by-step approach to mitigating well water contamination on your own. It covers how to test effectively, match treatment to the specific contaminants found, select and install appropriate equipment, and maintain the system over time. It also highlights where DIY work reaches its limits and a licensed water treatment professional should be brought in.
- Test first with a state‑certified lab; never guess based on taste or appearance.
- Match each contaminant to a certified treatment technology — no single unit does everything.
- Buy equipment certified to the relevant NSF/ANSI standard for your target contaminants.
- Install in the correct sequence (sediment → chemical/oxidation → specialty media → softener → UV) and include bypass valves.
- Maintain on schedule, log every service, and retest annually to confirm the system still works.
Start with Certified Laboratory Testing
The only reliable way to know what is in your well water is to send a sample to a state-certified laboratory [3]. Home test kits and strips can give a rough indication for a few parameters like hardness or pH, but they cannot detect most health-related contaminants at regulatory levels. Plan to test at least once a year for total coliform bacteria, nitrates, and any contaminants of local concern (such as arsenic, radon, or volatile organic compounds) [4].
Collect the sample following the lab’s instructions exactly — using the provided sterile bottles, filling to the correct level, keeping the sample cold, and delivering it within the required hold time. A basic annual panel typically costs $100–$300 depending on the number of analytes. Keep all lab reports; they are essential for choosing the right treatment and for any future real‑estate transactions.
If the lab report shows any contaminant above the EPA’s Maximum Contaminant Level (MCL) or a state health advisory level, do not assume the water is safe just because it looks and tastes fine. Many harmful contaminants are undetectable without laboratory analysis.
Match Treatment to the Specific Contaminants Found
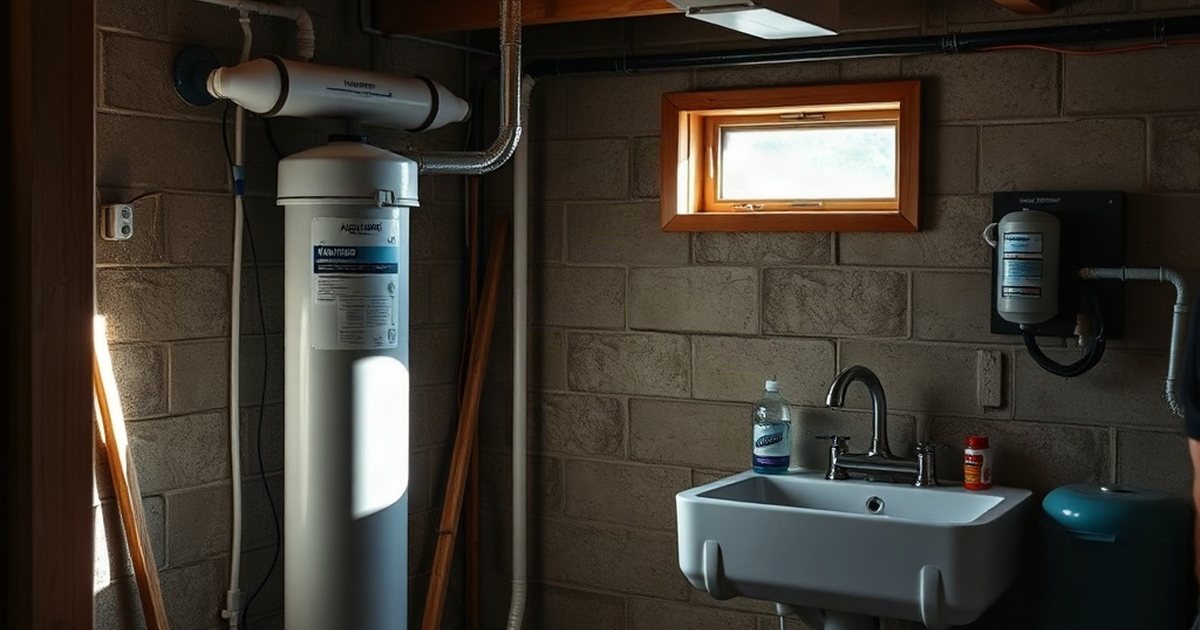
No single treatment device removes every type of contaminant. Effective mitigation starts with a clear list of what you need to address, taken directly from your lab report. Common contaminant groups and the typical treatment categories used for each include:
• Microbiological (bacteria, viruses): ultraviolet (UV) disinfection, continuous chlorination, or ozone. • Sediment and particulates: sediment pre‑filters (spun polypropylene, pleated, or backwashing). • Dissolved metals (iron, manganese, arsenic, lead): oxidation/filtration, adsorptive media (e.g., iron‑specific resins, activated alumina), or reverse osmosis (RO). • Nitrate: anion exchange resin or RO. • Volatile organic compounds (VOCs), pesticides, herbicides: granular activated carbon (GAC) or catalytic carbon. • Hardness (calcium, magnesium): cation exchange water softener. • Acidic water (low pH): calcite or magnesium oxide neutralizer tank.

Write down each contaminant that exceeds a guideline, its measured concentration, and the treatment technology (or combination) that is certified for that specific reduction claim. This list becomes your specification sheet when you shop for equipment.
Choose Equipment with Third‑Party Certification
When selecting treatment components, look for products certified to NSF/ANSI standards that match your contaminant list. The most relevant standards are: • NSF/ANSI 42 – aesthetic effects (taste, odor, chlorine). • NSF/ANSI 53 – health effects (lead, VOCs, cysts, etc.). • NSF/ANSI 58 – reverse osmosis systems. • NSF/ANSI 55 – UV microbiological water treatment systems. • NSF/ANSI 44 – cation exchange water softeners. • NSF/ANSI 61 – material safety (components in contact with drinking water).
Certification means an independent lab has verified that the unit meets the structural integrity, material safety, and contaminant reduction claims stated by the manufacturer. Avoid equipment that only says “meets NSF standards” without a certification mark from an accredited body (such as NSF, WQA, IAPMO, or UL).
Typical price ranges for certified point‑of‑entry (whole‑house) systems: • Sediment pre‑filter housing + cartridges: $80–$250. • GAC or catalytic carbon tank (1–2 cu ft): $400–$1,200. • Water softener (30,000–48,000 grain): $600–$1,500. • UV disinfection system (12–20 gpm): $500–$1,200. • Oxidation/filtration for iron/manganese: $1,000–$2,500. • Point‑of‑use RO unit (under‑sink): $250–$600. Installation materials (copper/PVC fittings, valves, tubing, electrical supplies) typically add $150–$500.
Install the System in the Correct Order
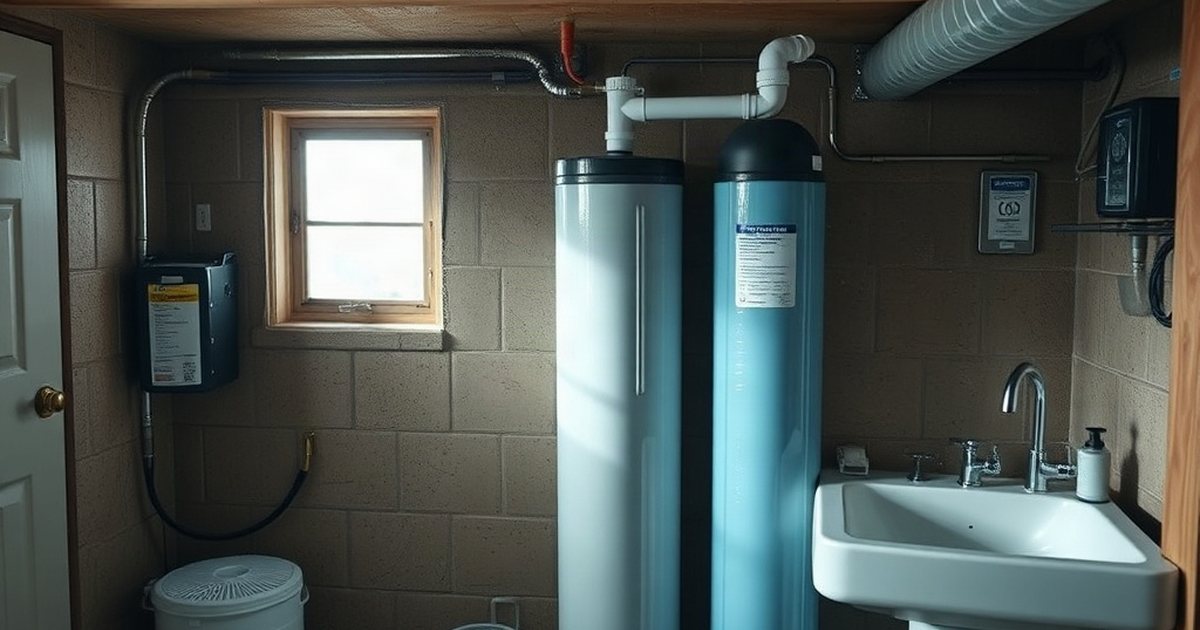
Treatment sequence matters. A typical whole‑house train runs in this order: 1. Sediment pre‑filter (protects downstream media). 2. Chemical oxidation or aeration (if needed for iron, manganese, hydrogen sulfide). 3. Specialty media tank (e.g., GAC, arsenic adsorptive media, nitrate resin). 4. Water softener (if hardness is an issue). 5. UV disinfection (last, so water is clear for UV transmittance). Point‑of‑use RO goes at the kitchen sink, fed from the treated line.
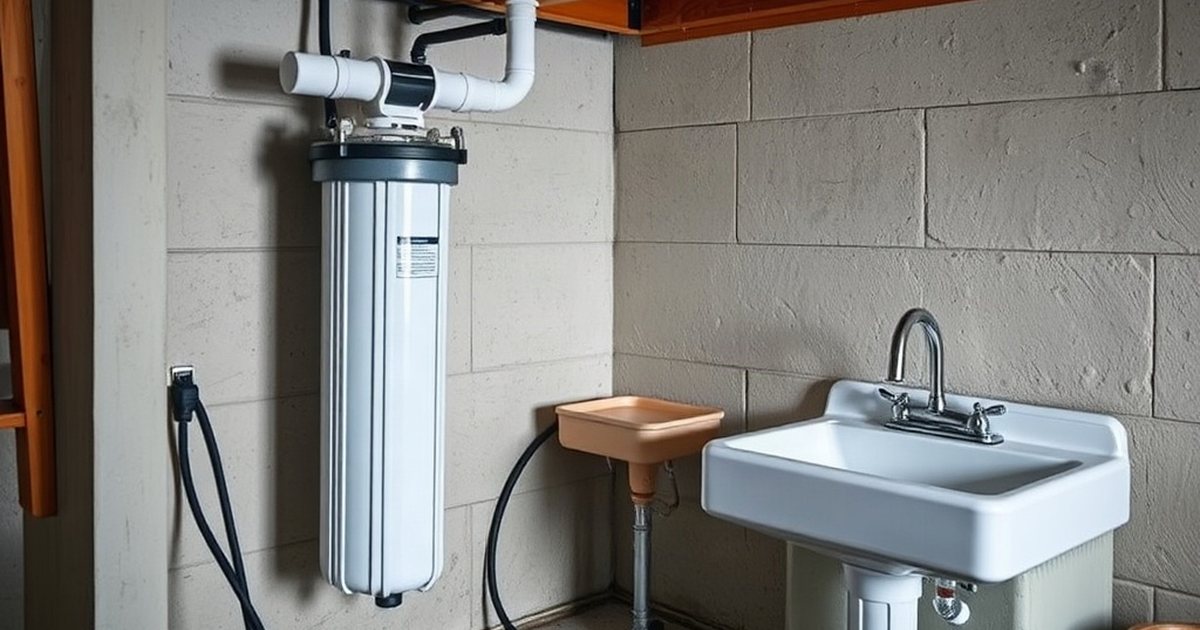
If you are comfortable with basic plumbing — cutting copper or PVC, sweating joints or using push‑fit fittings, and installing a dedicated 120 V GFCI outlet for UV or pump controls — you can install many of these components yourself. Follow the manufacturer’s installation manual exactly: respect flow direction arrows, allow required clearances for cartridge changes, and install bypass valves on each major tank so you can isolate it for service.

Electrical work for UV systems, ozone generators, or pump controls must comply with the National Electrical Code (NEC) and local permits. If you are not a licensed electrician, hire one for any new circuits, GFCI protection, or hard‑wired connections. Improper grounding or voltage drop can cause UV lamps to fail silently, leaving you without disinfection.
Commission, Maintain, and Retest
After installation, flush each component per the manual (often 10–15 minutes at full flow) to remove fines and air. Then collect a post‑treatment sample and send it to the same certified lab for the same analyte panel. Verify that every target contaminant is now below the relevant guideline. Keep this “after” report alongside the “before” report.
Create a maintenance schedule based on the manufacturer’s recommendations and your water usage: • Sediment cartridges: every 3–6 months or when pressure drop exceeds 10–15 psi. • GAC/catalytic carbon: replace media or tank every 1–3 years (or per gallon rating). • Water softener: add salt monthly; clean brine tank annually. • UV lamp: replace annually (even if still glowing); clean quartz sleeve at each lamp change. • RO membrane: replace every 2–3 years; pre/post filters every 6–12 months. • Oxidation/filtration media: backwash frequency per controller; media replacement every 5–10 years.
Log every service action with date, part numbers, and pressure readings. A simple notebook or spreadsheet works. Retest the full panel at least annually, or sooner if you notice changes in taste, odor, color, or pressure. Seasonal variations (spring runoff, drought) can shift contaminant levels.
Know When to Call a Licensed Professional
DIY mitigation works well for straightforward, single‑contaminant scenarios where the treatment train is standard and the plumbing is accessible. However, certain situations warrant a licensed water treatment professional (often a Certified Water Specialist through the Water Quality Association or a state‑licensed well contractor):
• Multiple interacting contaminants (e.g., high iron plus arsenic plus low pH) that require a custom media sequence or pH adjustment before primary treatment. • Contaminants with no certified point‑of‑entry device (e.g., certain PFAS compounds, radon in water) where engineered solutions are needed. • Whole‑house systems that require a booster pump, pressure tank resizing, or major re‑piping. • Electrical work beyond a simple plug‑in UV unit (new circuits, sub‑panels, outdoor disconnects). • Persistent treatment failures despite correct maintenance — this often indicates an undiagnosed source (e.g., well casing breach, cross‑contamination) that a professional can investigate with downhole cameras or packer testing. • Any situation where local health department regulations require a licensed installer for permit compliance.

Professional design and installation typically costs $2,000–$6,000 for a whole‑house system plus equipment, but it includes proper sizing, code compliance, and a performance guarantee. Get at least three quotes and verify the contractor’s certification and insurance.
FAQ
Can I use a home test kit instead of a lab?
Home kits are useful for quick checks on hardness, pH, or iron, but they lack the sensitivity and accuracy to detect most health‑related contaminants at regulatory levels. Always confirm with a certified laboratory before purchasing treatment.
How do I know which NSF/ANSI standard applies to my contaminant?
Check the lab report for the contaminant name, then match it to the standard: NSF/ANSI 53 covers many health‑effect contaminants (lead, VOCs, cysts); NSF/ANSI 58 covers RO for dissolved solids; NSF/ANSI 55 covers UV for microbes; NSF/ANSI 44 covers softeners. The product’s performance data sheet lists the specific claims.
What if my water has high arsenic and high iron?
Iron can interfere with arsenic adsorption media. A typical approach is oxidation/filtration to remove iron first, followed by an arsenic‑specific adsorptive media (certified to NSF/ANSI 53 for arsenic). This sequence often requires professional sizing.
Is UV disinfection enough on its own?
UV only inactivates microorganisms. It does not remove chemicals, metals, or sediment. Water must be clear (low turbidity, low iron/manganese) for UV to work, so pre‑filtration is essential. UV also provides no residual disinfection in the plumbing.
This guide provides general DIY steps based on common residential scenarios; it cannot account for every site‑specific condition, local regulation, or complex contaminant interaction. If your lab results show multiple exceedances, unusual contaminants, or if you are unsure about plumbing or electrical work, consult a licensed water treatment professional or certified well contractor before proceeding.
References
- Private Drinking Water Wells. U.S. Environmental Protection Agency
- Nitrogen and Water. U.S. Geological Survey
- Certification of Laboratories that Analyze Drinking Water Samples. U.S. Environmental Protection Agency
- Protect Your Home's Water. U.S. Environmental Protection Agency
These statements have not been evaluated by the Food and Drug Administration. This information is not intended to diagnose, treat, cure, or prevent any disease. Content is for informational purposes only and is not medical advice; consult a qualified healthcare provider before starting any supplement. As an Amazon Associate we earn from qualifying purchases.
